Oily fish is very good for you, there is no getting away from that. Rich in heart and brain-healthy omega3 fatty acids, they can also be a cheap source of protein.
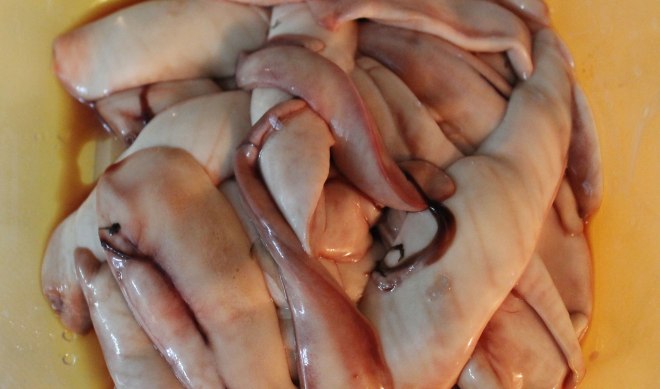
I can buy enough herrings to feed my family for just $5.99. It would cost me 3 times that amount to buy salmon fillets
The only downside is that the fish need cleaning and preparing, and that can be a little daunting if you don’t know how to do it.
This is how I prepare these small fish. I will warn you now, this is a very picture-dense post as Hubby was taking pictures as I was actually gutting and preparing the fish.
This exact same method can be used for any of the smaller oily fish – I prepare sardines, sprats, pilchard, herring and mackerel this way amongst others. Even small trout can be prepared this way and it is much easier than the traditional method of filleting. But in this post I am using herring.
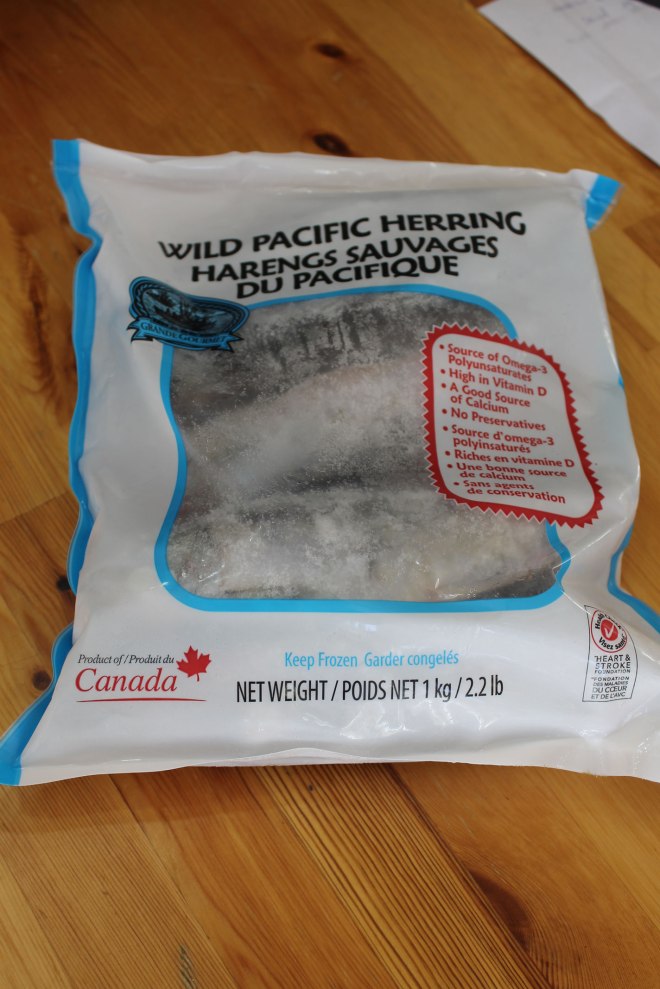
The fish were frozen when I bought them – living in land-locked Alberta, it is very hard to buy unfrozen fresh sea-fish. And these small oily fish go bad very quickly, so it is best for me to buy them frozen. A 1kg (2.2lb) bag costs me $5.99, and usually contains around 12 fish… 2 per person, which makes for a very satisfying meal.
So I thawed the bag of fish out by leaving it in the refrigerator overnight (never thaw fish on the counter-top at room temperature!). If you need to do a fast thaw, you can submerge the bag into cold running water, but don’t use warm/hot water either. I also do not recommend that you attempt to thaw fish in the microwave – it tends to cook them as it is thawing them.
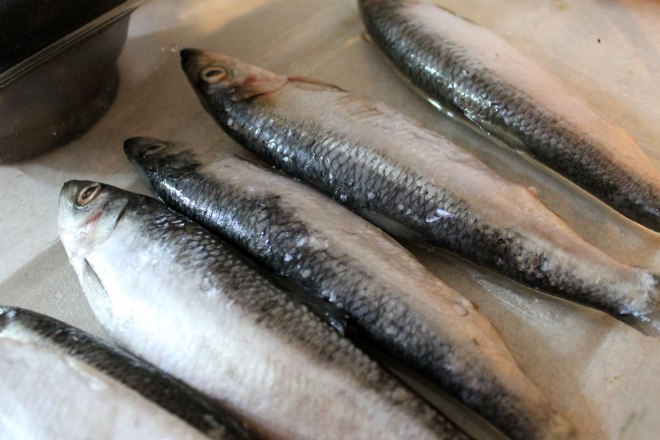
Once they are fully defrosted, take them out of the bag, discarding any liquid that is in the bag (there is nearly always some!).
Obviously, if you are using fresh fish, there is no need to go through the above 2 steps, you can jump right in to cleaning them.
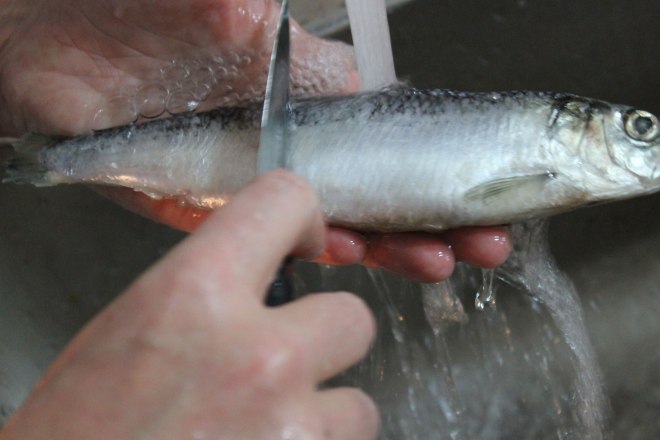
The first step is to descale them. To do this, I use the back of a paring knife under a running tap (the non-sharp edge). I just run the knife from tail to head (Against the grain of the scales) while the water is flowing over the fish. Not all fish need descaling. Herring almost always do, but mackerel don’t.
Make sure you get all the scales off – scales are not pleasant to eat!
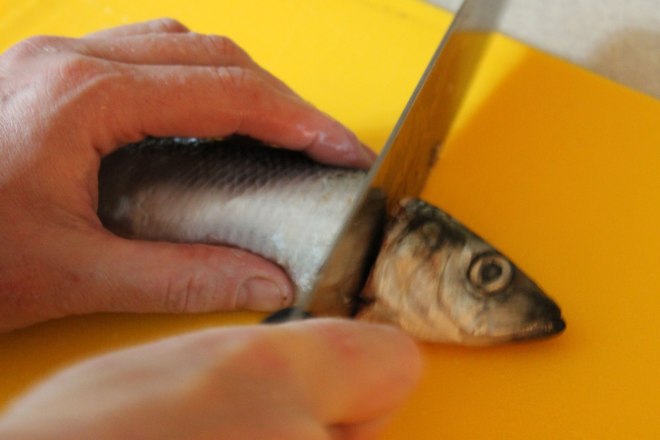
Next you need to cut the heads and tails off. Some people like to do this after gutting the fish, I prefer to do it before as most often, a lot of the guts will come out along with the head. Simply cut with a knife right behind the gills as close as you can because you don’t want to waste any of the flesh.
At the tail end, you simply cut close to the tail…. not so much flesh down that end to waste! I like to use a french cooks knife for cutting heads and tails off, but I use a paring knife to actually gut the fish.
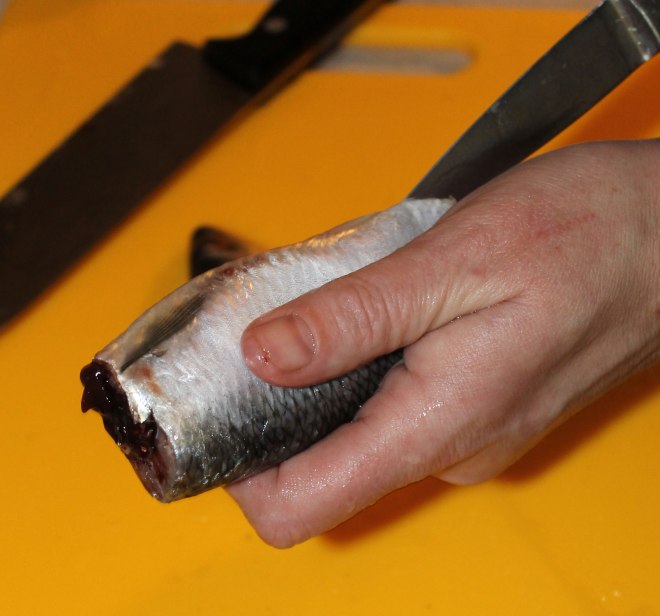
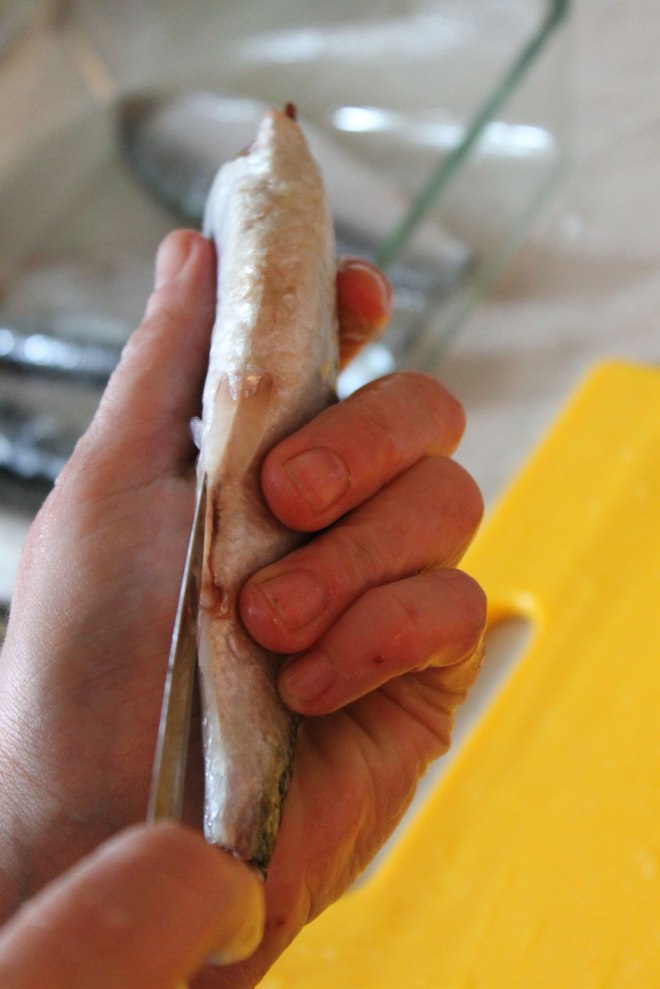
To remove the guts and open up the belly, you simply insert the point of your paring knife into the small opening on the fish’s belly and then run the knife up the underside of the fish towards the head end:
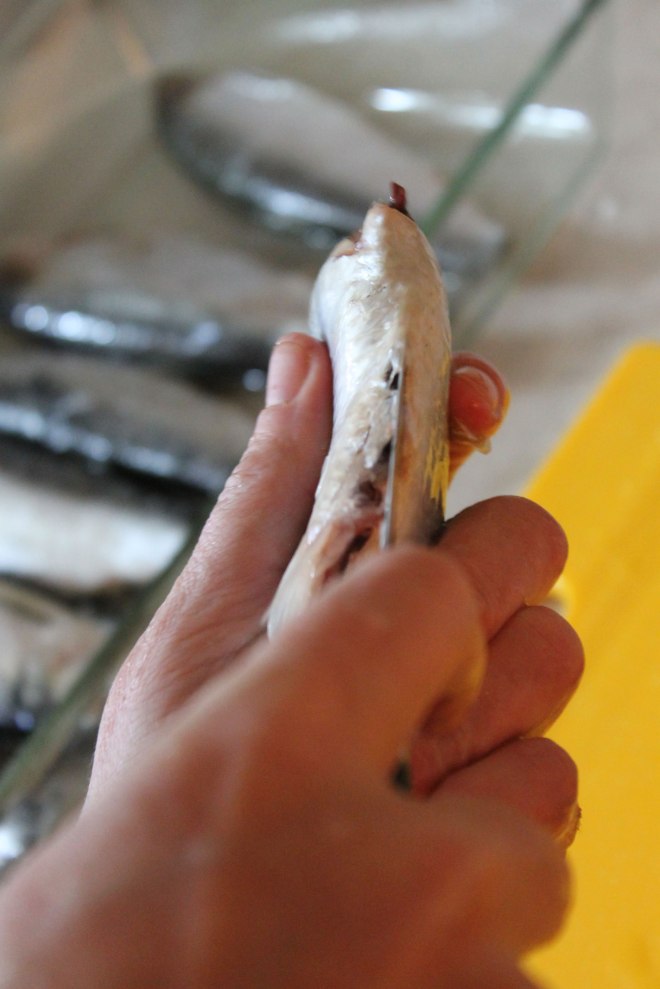
All the way up to where you cut the head off:
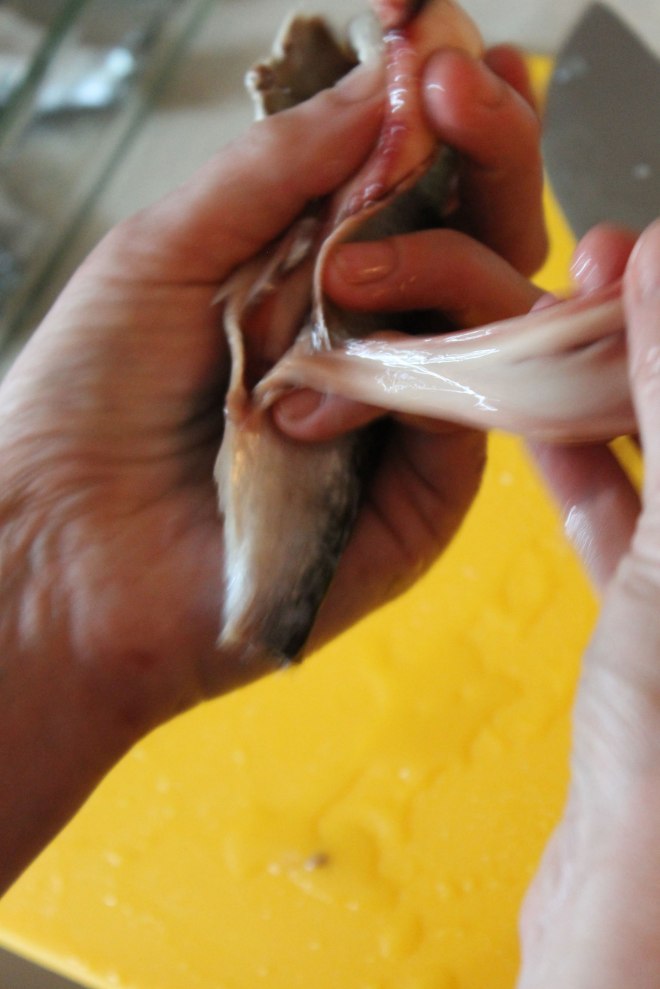
At this point you can remove the innards of the fish:
If you find any long creamy coloured sacs that look like what I am removing in the above photograph, these are the soft-roes (more properly called Milt) that are found in male fish.
Put them to one side as they are delicious when fried in a little bacon fat.
You might also find some hard roes if you have female fish (sadly all of mine were male). Female herring tend to be larger than the males.
Hard roes look like this:
These are the true fish roes and are again contained in long sacs. But unlike the soft roes, they have a grainy texture as they contain the fish-eggs. In herring, they are an orangy-red colour. The colour can vary depending on what species of fish you are cleaning however. Like the soft-roes, you should also set these aside as they are not only delicious, they are very good for you.
I most often find roes in herring…. but sometimes you find them in other fish as well… no matter what species of fish you are using, the roes are all edible and should not be wasted. If you are going to get roes in your fish it really depends on the season in which they were caught. With frozen fish this can be a bit hit or miss as you can never be sure how long the fish has been frozen for. But with really fresh (never frozen) fish, you will only find the soft and hard roes during the times when they are spawning.
Rinse the roe under cold running water but be gentle with them – they are very delicate!
The remaining guts should be thrown away (although I did feed a fish-head and some of the guts to my raw-food fed cat! He enjoyed them immensely. I tried giving the dog a fish head and he just got confused and licked it a little then wagged his tail to show willing…. It goes to show that cats are smarter than dogs! They know when food is good for them….
By the time your fish has been gutted, you should end up with something that looks like this:
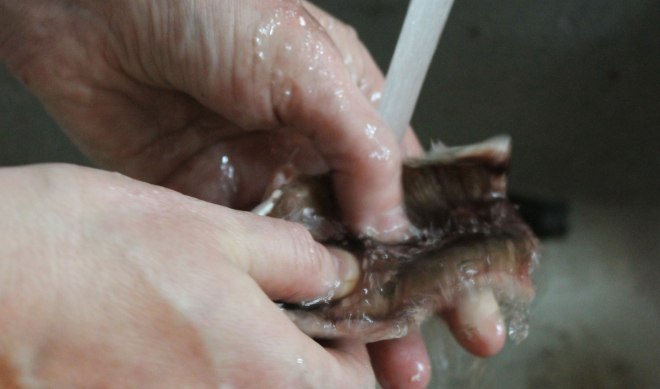
Now it is back to the sink to wash out the innards. Make sure you rub inside well as there is a dark film lining the internal cavity. Using a little salt on your fingers can help remove this. Also make sure you scrape down towards the backbone to remove the blood-line (the main arteries in the fish) as these can taste bitter. The running water will wash all this away.
If you are wanting to serve your fish whole, that is all you need to do (Actually, you don’t even need to remove the head in this case….. I do because I am not fond of my food looking at me when it is on the plate!). In this case, you will simply move on to how you have decided to cook your fish…..
But in the case of the meal I was making, I wanted boneless (or as nearly boneless as I can) split fish fillets.
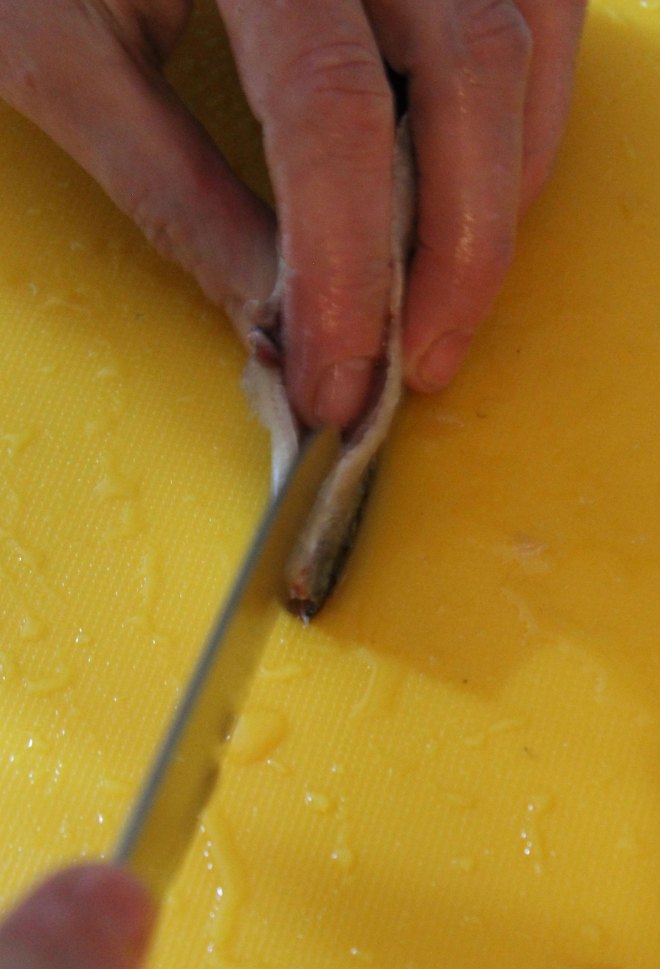
So I took my fish and I used my paring knife to slit it down from the open cavity towards the tail, cutting right down to the backbone:
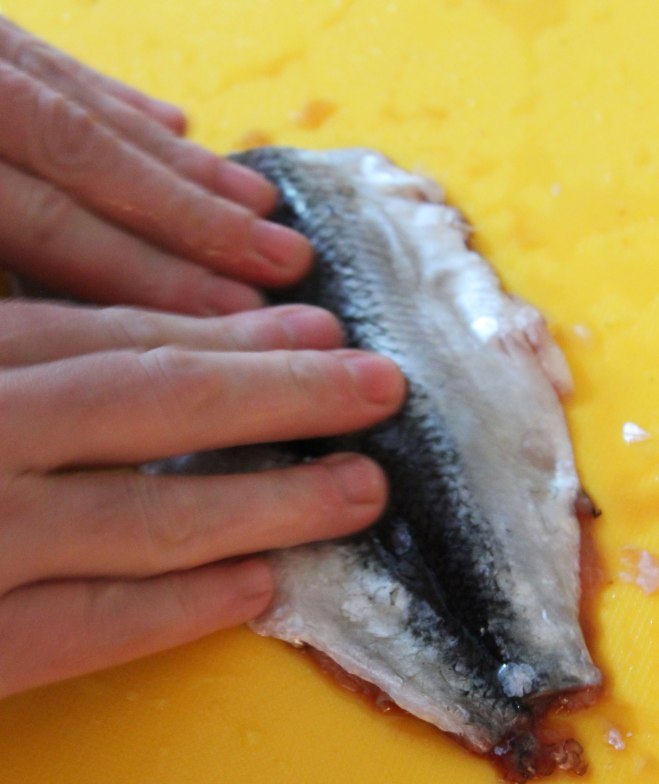
Then I inverted the fish so that it was belly-down on the cutting board and it’s stomach flaps were spread out. Press down hard along the backbone of your fish, squashing it flat:
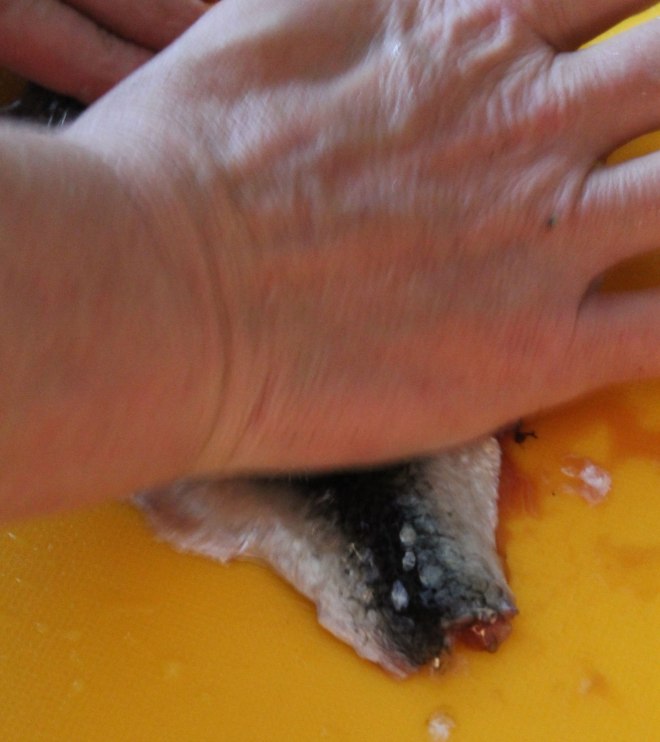
You might need to use the heel of your hand to do this:
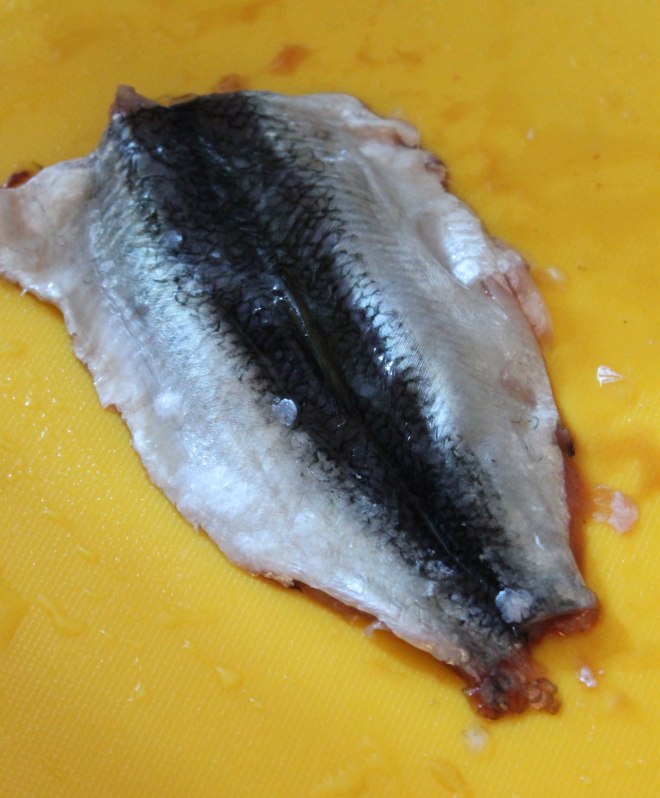
The flatter you get your fish, the easier it will be to remove the backbone: Get it as flat as you can! Do you see those scales on the cutting board? I obviously didn’t de-scale this fish well enough!
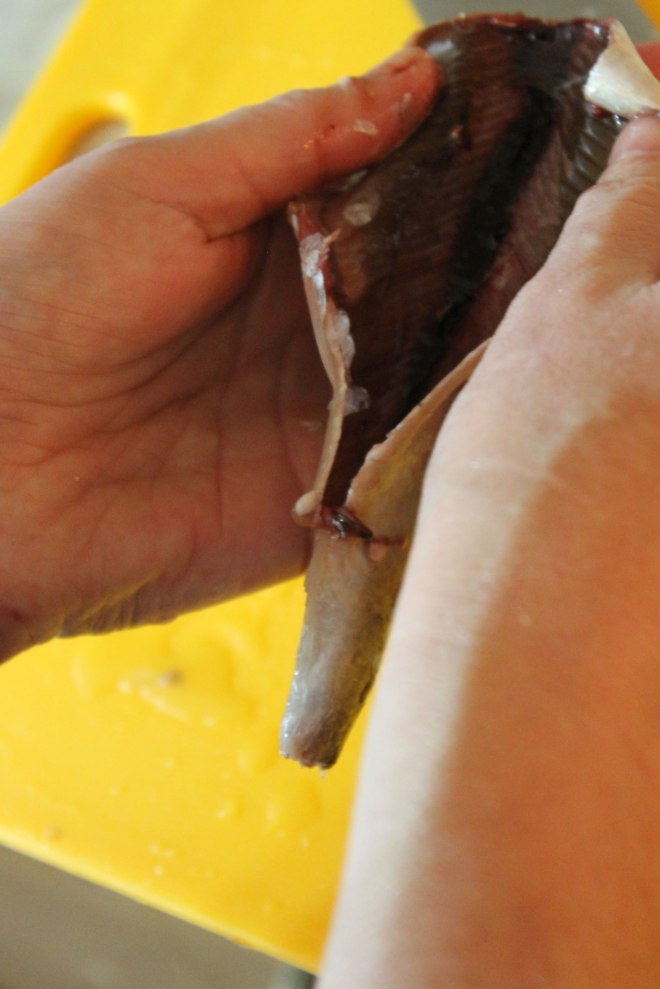
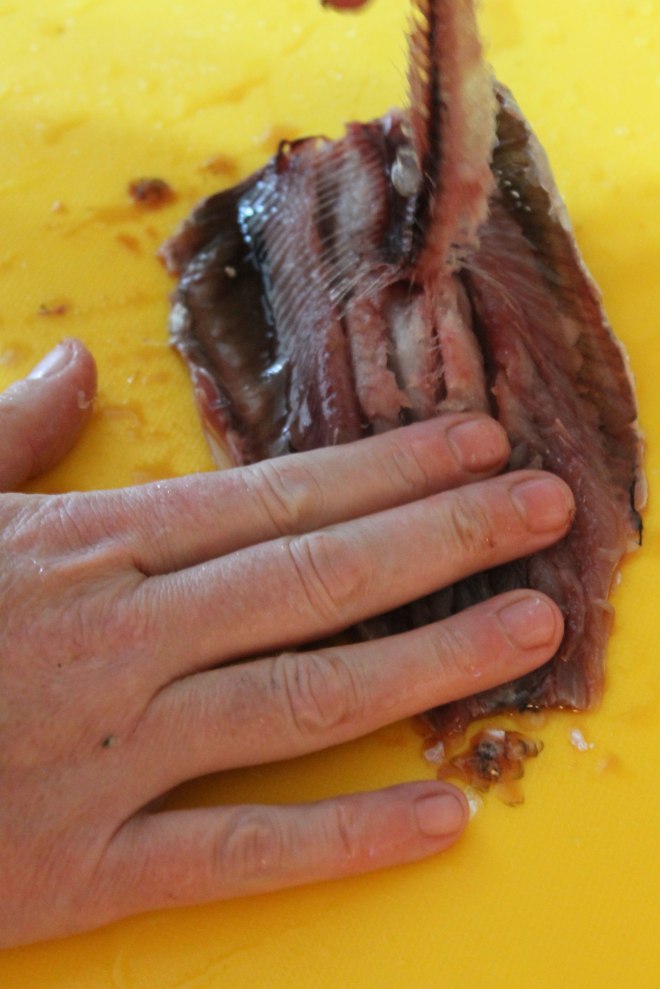
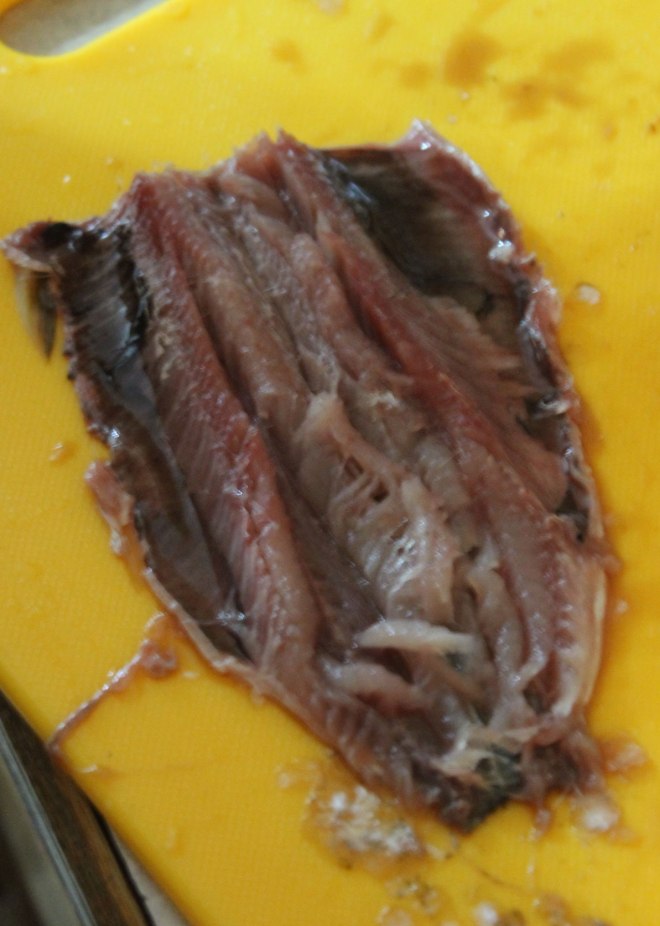
Now turn the fish over so the open side is uppermost. Take hold of the tail end of the backbone and peel it out… most of the ribs should come away with it.
If it does not come away easily, you didn’t squash the fish enough, so turn it back over and squish it some more!
What you will end up with is something that looks a bit like this:
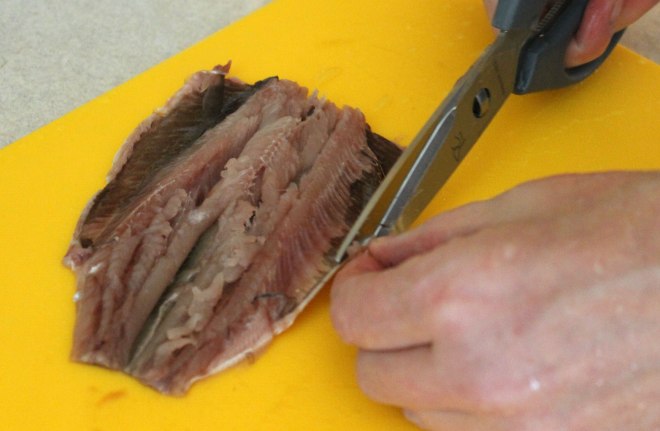
Now you just need to trim off any fins. A pair of scissors is easiest for this.
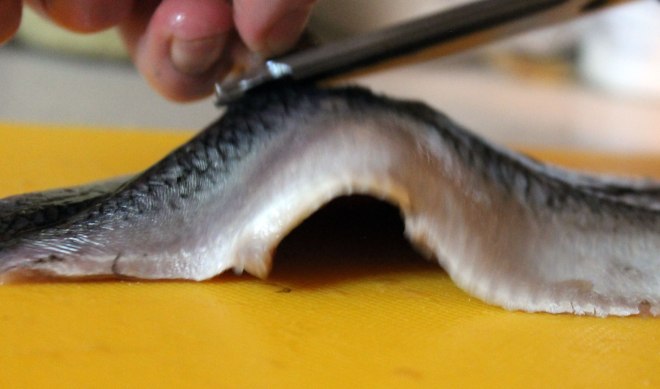
On herring, there are usually 2 sets left after you cut off the head – one set along the edges of the belly which I am removing in the picture above, and one set along the back, which I am removing in the picture below:
Give the entire fish a quick wash to make sure that there are no stray scales hanging around, and you are done!
If your fish is small, just leave it with the 2 halves attached, but if it is on the larger side, you can divide it into 2 fillets… your choice….
Congratulations! you have just prepared your first whole fish…..
Now cook and eat and enjoy!
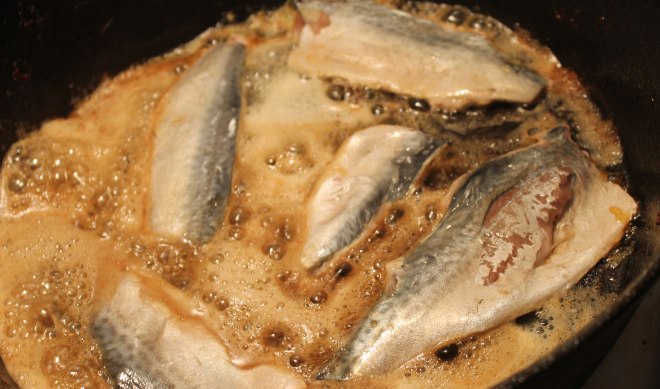
I like my fish cooked very simply. Most often I just fry them in a little coconut oil:
The fish in the picture above are actually mackerel. I didn’t think to take a picture of the herring that I was cooking.
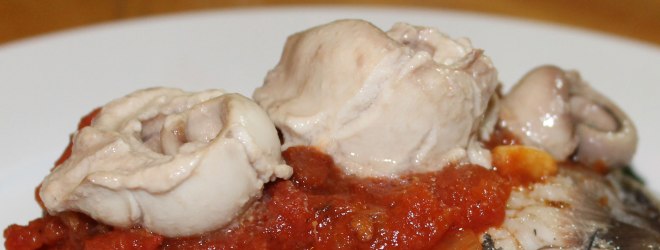
As far as the roe goes, soft roes (milt) I just briefly pan-fry in a little coconut oil. They will curl up into a cute spiral shape and have a very creamy texture. I serve these on top of the fish:
You could also save them and mix them into your scrambled eggs at breakfast. That would be delicious! But I am just not that organized. I have considered blending them into a sauce as well… I bet that would work well!
As far as the hard roes (or true roe) goes, I remove the membrane that surrounds the sac, and I just use them in anything that I would normally use fish eggs for (sushi, sashimi, stirred into scrambled egg). I don’t tend to cook these, they are better raw so that you can appreciate that little “pop” and burst of fishy salty goodness as you bite into them.
I hope this post will give you the confidence to start gutting and prepping whole fish as it is really very easy if a little time-consuming.
And if your hands smell “fishy” afterwards, there is a really simple tip for getting rid of that…. just wash your hands in your stainless-steel sink and rub the surface of your hands all over the metal… I don’t know why it works, but it does! Sadly this will not work if you have a non-stainless-steel sink….

For years I worked in a seafood restaurant, while one of my duties was to fillet fish, it was always boneless when we got it. I never learned to properly gut a fish and because of that, I never have bought bone in fish.
That is changing today. Thank you for the extra pictures, and the tip on the stainless. I always rubbed lemon on my hands, which often burned like the dickens without doing anything about the odor.
you should try bone-in fish… much better quality and it really is easy. it just takes time… but honestly, I can prep 12 herring for my family of 6 in less than half an hour…. it doesn’t take all that long really. it is just a bit messy.
I cleaned bigger fish,never herring but now for sure i am going to try. I did see them in Superstore in Steinbach MB and it was the only MADE IN CANADA frozen fish. Always had great respect for value of herring thou after trying to eat smoked ones got rather discouraged -was really headache to separate meat from bones . Great work, both description and pictures, THANK YOU VERY MUCH. Les
Pingback: 70+ Paleo and AIP Seafood Recipes
Thanks for the tips about the hard and the soft roes. They are precious !
Question from a noob. Would somebody be so kind as to tell me whether it’s safe to eat the little pin bones in the herring fillets? Do they have to be extra thoroughly chewed?
You would want to remove as many of the small bones as you can from the fish – they are unpleasant if you get one in your mouth. Any that are too small to remove are ok to eat though.
Thank you for answering.
You personally, pick the “pin bones” out of the fillet? But, why didn’t you mention that in your recipe?? Because of that I rather hoped you ate the fish with its little pointy bits.
I’ve eaten the things myself. I’m not fussy. I just wanted to know if you think I’m risking a perforation. Picking those bones out with a tweezer just isn’t going to happen. I’d puree them if I absolutely had to. But, I don’t want to have to.
Opinion?
those bones tend to come out when you pull out the backbone… especially if you use my method. Any that are left are so tiny that they should not cause a problem. With larger fish, if you use a knife to fillet them, then you do need to pick out the pin bones.
With the small ones, I just run a finger quickly over the fish and if I feel a bone I pull it out. But I do not obsessively pick bones out with tweezers unless they are really big fish (Salmon for example).
Pingback: Merle Oberon's Goodwood Herrings - Silver Screen Suppers